However much one might love turntables, vinyl replay and records themselves, most eventually reach a point where they are forced to ask whether or not their record player is optimally set up.
As those who read the audio press on a regular or even occasional basis will soon discover there is debate about pretty-much every aspect of turntable design and set-up including the benefit (or not) of longer (or shorter) arms, parallel trackers, which alignment protractor to use (presupposing the arm and cartridge mounting allows some alignment ‘flexibility’), tracking weights and so on. (To some degree accuracy of speed seems to have taken a back seat as do the undesirable effects of rumble as most (respectable) modern turntables are good performers in this area regardless of drive mode.)
Most of the above arm settings are variable and their positions can be noted allowing for a degree of repeatability should a previous setting be needed for any reason. One less obvious facet which can be critical is the rake angle of the stylus in the groove. This is predominantly a function of the relative height of the arm pivot, the angle of the arm with respect to the platter, the angle of the stylus and cantilever assembly (correctly the VTA) and the tracking weight (downforce).

Unlike the 78 players of yesteryear, modern styli are designed to be vertical in the groove, whether viewed from the front or the side. This is critical in order to extract maximum and equal information from the groove for each channel. Similarly it is critical for the stylus (if non-spherical but elliptical or some other exotic shape) to be exactly at right angles to the groove otherwise the phase integrity between channels will also be blurred.
Sadly, due to the vagaries of trigonometry most pivoted arms describe an arc across the record surface, so that latter ideal is not achievable across the whole played surface, but it can be pretty close for the majority of the side. So where does a micrometer height adjuster come in? Where exactly do its virtues lie?
In an ideal set-up, and assuming that the stylus is always vertical with respect to the groove when viewed from the front, most arms set up such that when the arm is parallel to the played surface when viewed from the side (slightly easier to see with a straight than a curved tube). Assuming the downforce is as the cartridge manufacturer intended, the stylus should sit vertically in the groove. However, two other factors need to be borne in mind.
The first is that to a very small degree (no pun intended) the bottom of the stylus – the pointy end – gets dragged through the vinyl and will ‘lean back’ towards the arm pivot when playing a record. How much depends on the length of the stylus, the tracking weight, the excursions of the groove and the speed of the groove passing beneath the stylus (which decreases towards the centre of the record). Fortunately this effect is very marginal, and can for the most part be disregarded. As a caveat though, I always, when setting the rake angle, make sure that I do not simply ‘place’ the stylus on the record surface but slowly rotate the record so the cantilever is under a modicum of tension as it would be when actually playing.
The major parameters which need to be considered then are arm height and downforce. For a given arm height, a low downforce will tend to leave the stylus ‘leaning forward’ away from the pivot, and a large downforce will leave it leaning backwards towards the pivot. If you notice, when you place the stylus on the record surface the VTA (the angle of the cantilever with respect to the record surface) changes as a function of the downforce This is simple trigonometry and due to the cantilever’s suspension. So the primary starting point must be setting a good mid-range downforce, and plumb in the middle of the manufacturer’s recommendations is the very best place.

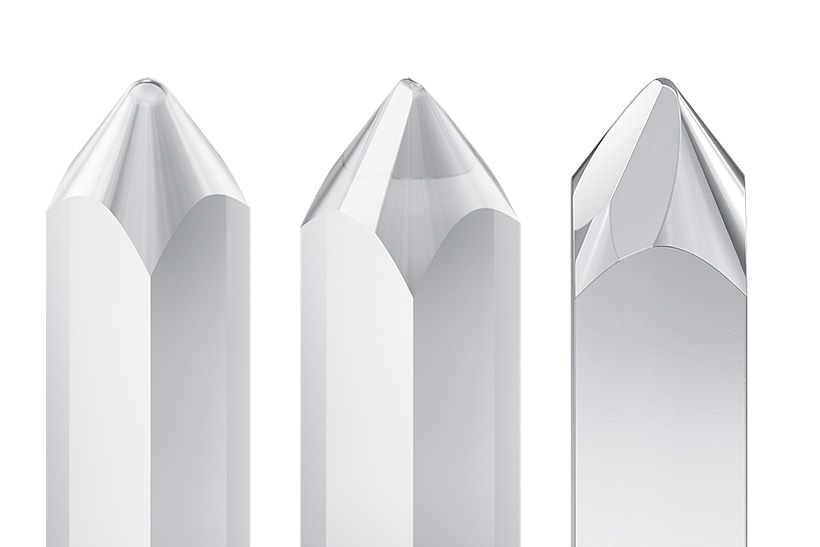
Nude Conical, elliptical and Shibata stylus profiles. Images courtesy of Audio Technica
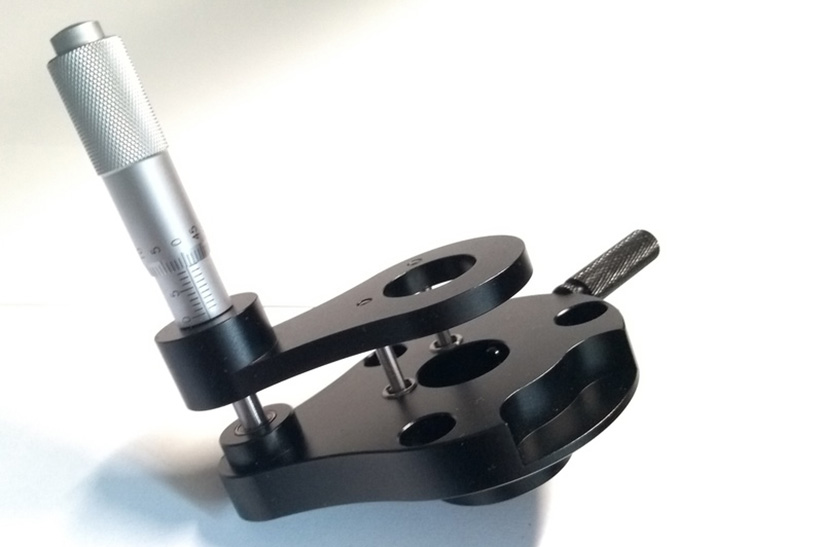
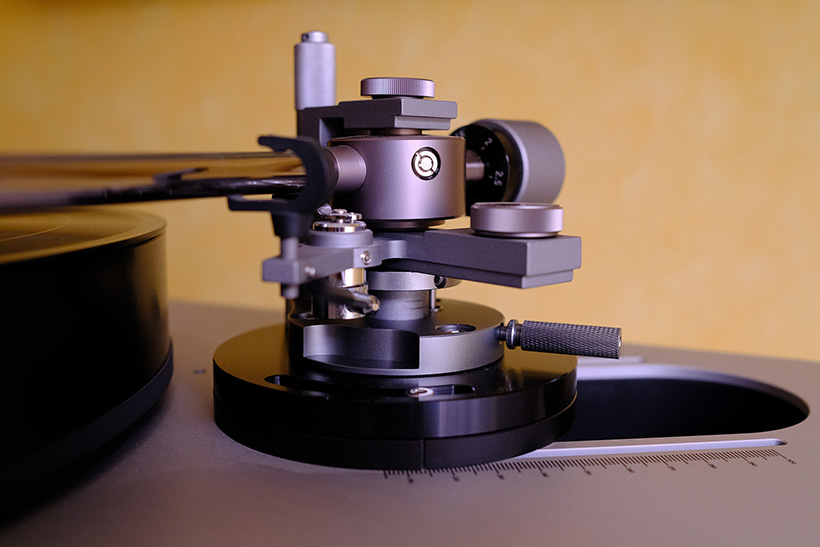
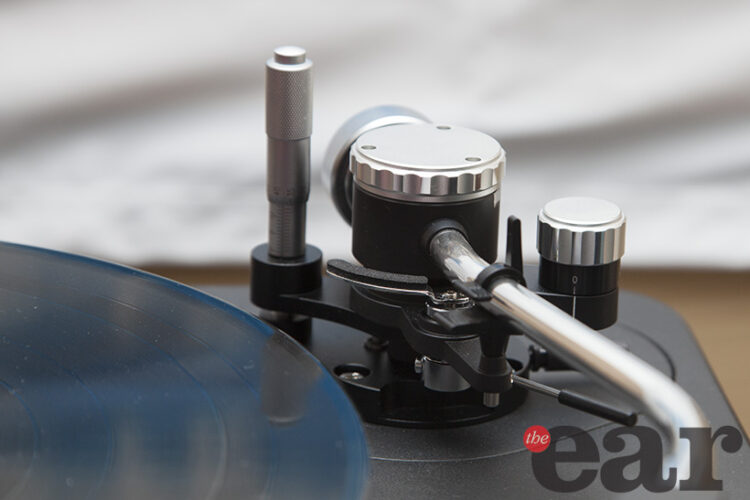
Now Easy VTA from Portugal has made a rather magic micrometer based device that clamps around the arm pillar and enables the user to raise and lower the arm by very small measurable amounts. As it’s calibrated (ranging between 15 and 25mm), depending on how things look from the side, you can make notes during the set-up, and go back to a previous setting if you need to.
There’s a really handy video which shows exactly how it works – a case of ‘a picture saves a thousand words’ or so. The result is that, once fitted to your arm pillar, you can change the height of the arm while a record is playing (though if you have a suspended deck you need take care so as not to excite the suspension too much). The end result is that the variation in sound is quite marked with relatively small changes in pillar height. For perhaps the first time you really can ‘dial in’ the sound you want.
Fitting the Easy VTA micrometer is very simple – remove the arm from the deck, ease the collar up the arm pillar tube, replace the arm on the deck, carefully tighten the locking bolt and ‘dial away’. The only thing you need to be careful of is that the micrometer’s collar doesn’t lift the arm’s minimum height setting above the maximum height you might need to align a particular cartridge.
I tried the micrometer on a number of arm/cartridge combinations including my son’s Rega / Helius combo, a friend’s SME 30/12/V12 and my humble Thorens TD150/3009. In each case, once the downforce had been set, easing the arm pillar up or down from a nominal mid-point provided quite marked differences in sonic presentation. The oft-proffered comments of ‘pillar down sounds dull’ and pillar up sounds bright’ were certainly verified, but the micrometer was revelatory in finding that ‘sweet spot’ where the sonic balance was ‘just right’.
We did also explore compensating for overly low or high downforce, and to a degree the micrometer is able to ameliorate these vagaries but ultimately too low a downforce and the stylus will still rattle in the grooves, and too high will lead to a leaden sound.

Of course the temptation would be to use the micrometer to compensate for overly dull or bright recordings as adjustments while ‘in play’ are possible, reverting to a known reference point afterwards. Musically that may be a nice route to take, but it’s hard to know what the effects on stylus or groove wear might be longer term.
I suppose the question has to be asked – is this really worth buying. It’s a beautifully-made, almost jewel-like quality piece of engineering, and the micrometer itself has an unbelievably smooth feel.
The answer lies in how much effort you want to put into playing your records. Certainly finding the sweet spot with a cartridge / arm combination was a lot easier than the usual chore routine of ‘undo grub screw, ease arm up (or down) by, how much? Ooops too much; b*gger where did I start from… Let’s try again’. How effective it is also depends on quality and condition of the stylus, the cartridge and arm, and the turntable they’re all mounted on. However, that being said, used judiciously it is a really effective tool in the armoury of the intrepid music lover wanting to get the greatest enjoyment out of a vinyl collection, and comes highly recommended.
Chris Beeching
Editor’s note: A counterpoint that should be mentioned is that a few tonearm makers do not include pillar height adjustment in their designs. This is because the option to alter arm height compromises the rigidity of the arm as a whole, which can introduce resonant spikes that find their way to the cartridge and undermine its ability to accurately read the signal. The benefit of a rigid arm fixing often outweighs those that can be achieved when VTA/SRA is correct.


